A custom retail counter sounds simple: give the manufacturer the size, choose a color, and get a price.
In reality, that is usually where the problems start.
A candy store counter, jewelry checkout counter, bubble tea counter, or perfume display counter can look great in a showroom but work terribly in a real store. Too shallow, and you lose storage. Too deep, and customers feel blocked from the counter. Put the cash register in the wrong place, and your staff will spend the entire day working around it.
If you are planning a new store or remodeling an existing one, here is the information worth preparing before you request a custom retail counter quote.
1. Start With the Available Space
Do not start with the counter itself. Start with the room.
Measure the wall length, floor-to-ceiling height, doors, windows, columns, electrical outlets, and nearby equipment.
If the counter will sit against a wall, measure the usable wall width rather than simply giving the overall room width.
A few extra centimeters can make a surprising difference when the counter needs to fit between two walls.
2. Give the Manufacturer the Counter Length and Height
Two dimensions matter immediately: overall length and working height.
A checkout counter commonly needs enough height for comfortable standing work while still allowing customers to interact with staff. But there is no single “correct” height for every business.
A jewelry store may want a different working height from a candy shop. A bubble tea shop may need space for equipment rather than simply a flat countertop.
Tell the manufacturer how the counter will actually be used.
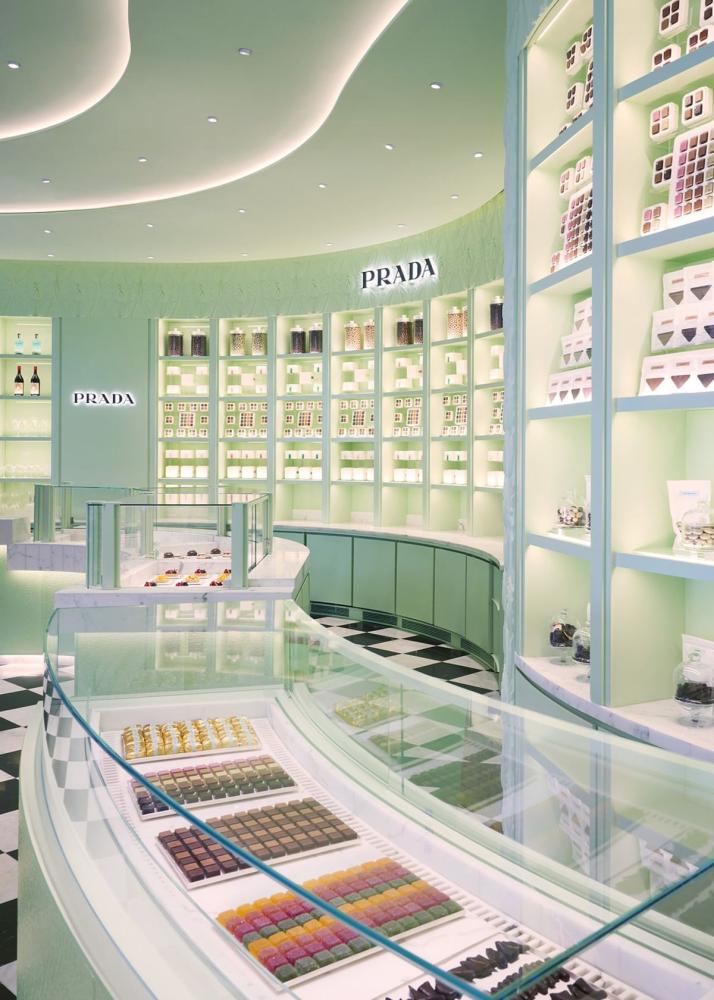
3. Don't Forget Counter Depth
Depth is one of the most frequently overlooked dimensions.
A deep counter gives you more workspace and storage, but it also consumes valuable customer space.
For a small retail shop, a counter that is only slightly too deep can make the entire store feel cramped.
Before choosing the depth, consider:
-
POS terminal
-
Cash drawer
-
Packaging area
-
Computer or tablet
-
Small appliances
-
Product display
-
Staff working space
-
Storage underneath
The goal is not “maximum depth.” It is enough depth for the job without wasting floor space.
4. Tell Them What You Are Selling
A manufacturer cannot design the right counter without knowing what goes on it.
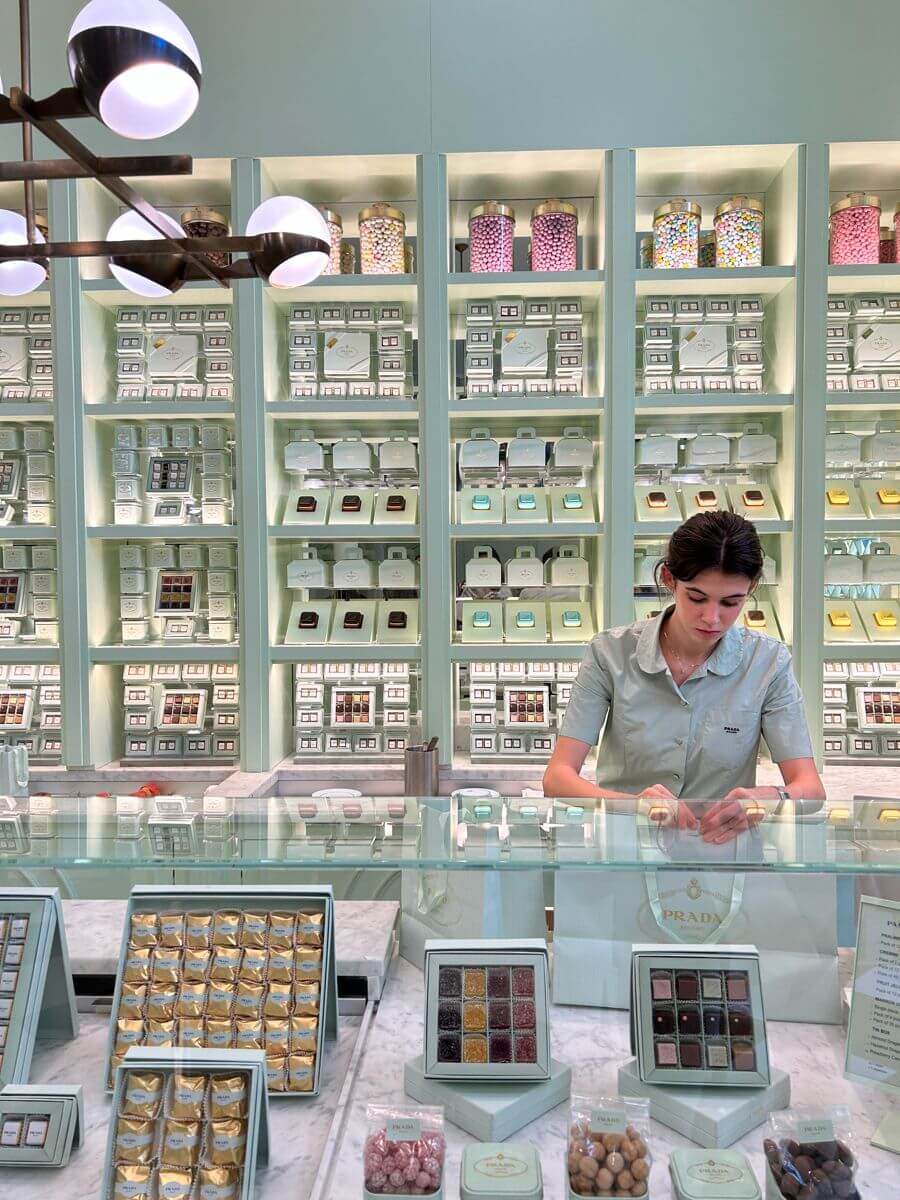
A candy store might need bins, impulse-product displays, and concealed stock storage.
A jewelry store may need lockable drawers, glass display areas, lighting, and a more customer-facing presentation.
A bubble tea shop may need space for cups, sealing machines, ingredients, POS equipment, and electrical connections.
The product determines the counter.
5. Show Where the Equipment Goes
If you already know what equipment you will use, send the dimensions.
This is particularly important for:
-
POS systems
-
Cash registers
-
Sinks
-
Refrigerators
-
Ice makers
-
Blenders
-
Sealing machines
-
Computers and monitors
Do not assume the manufacturer will know the size of your equipment.
Even better, provide a simple sketch showing where each item should sit.
6. Explain Your Storage Requirements
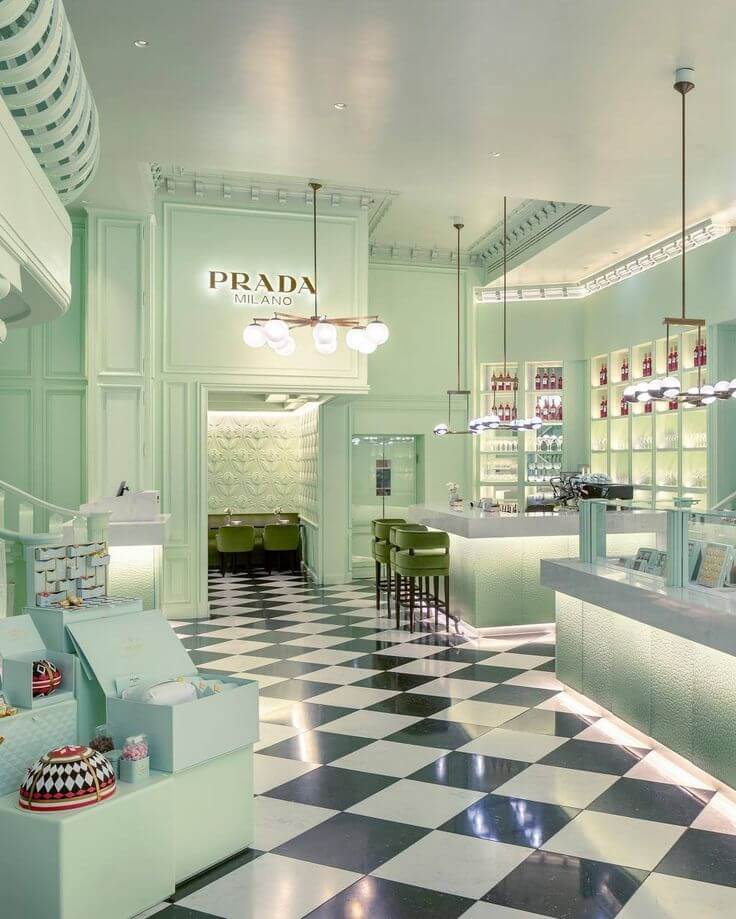
“Need storage” is not enough information.
Tell the manufacturer what you want to store and approximately how much.
For example:
Drawer: receipts, pens, small tools
Cabinet: shopping bags and packaging
Open shelf: frequently used products
Locked cabinet: expensive merchandise
Lower storage: bulk inventory
This helps the designer decide between drawers, doors, adjustable shelves, open shelving, or a combination.
7. Decide Whether Customers Need to See the Products
A retail counter can do more than process payments.
If you sell candy, cosmetics, accessories, jewelry, or small gift items, the counter can become another sales surface.
You might want:
-
Open shelves
-
Product hooks
-
Small countertop displays
-
LED lighting
-
Acrylic product dividers
-
Built-in signage
Think about the counter as part of your merchandising system, not just a checkout desk.
8. Provide Your Branding and Color References
“Make it modern” means different things to different people.
Instead of relying on words, send reference photos.
Useful information includes:
-
Logo
-
Brand colors
-
Preferred materials
-
Reference furniture
-
Store interior photos
-
Competitor examples
-
Photos of existing fixtures
If your store already has a design direction, the counter should look like it belongs there.
9. Tell the Manufacturer Where It Will Be Installed
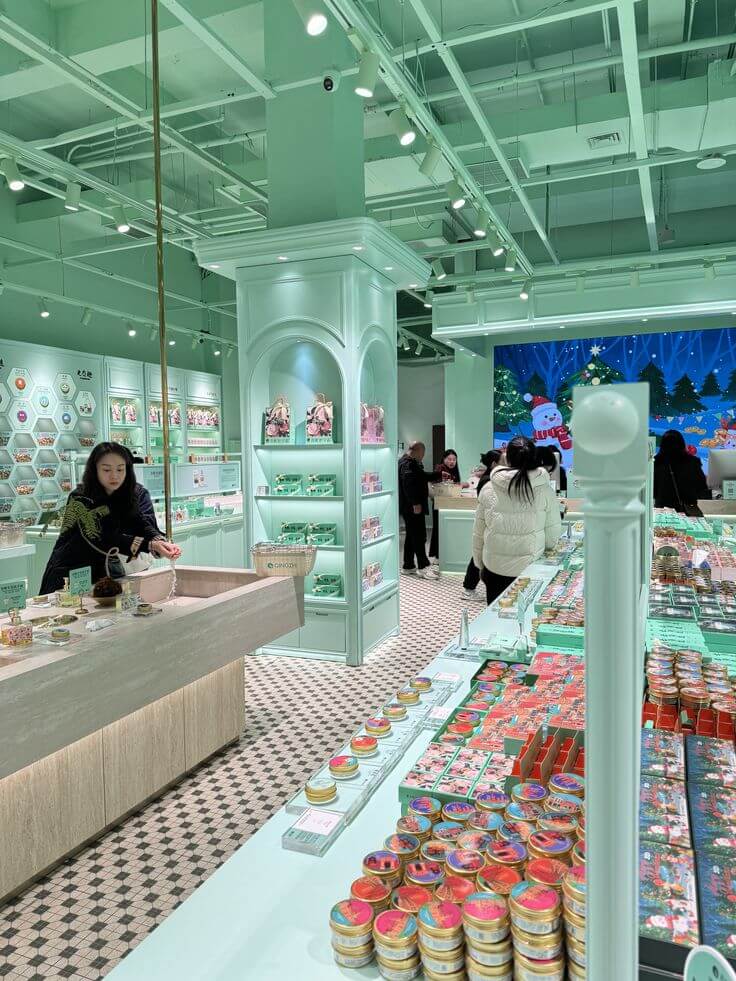
A counter designed for a shopping mall may be completely different from one designed for a small street-front store.
The manufacturer should know:
Is it against a wall?
Is it freestanding?
Does it need to be moved through a narrow doorway?
Will it be assembled on site?
Does it need to be shipped overseas?
For larger counters, shipping dimensions can become just as important as the finished dimensions.
A beautiful counter that cannot fit through the shop door is not a successful design.
10. Ask for a Drawing Before Production
This is perhaps the most important step.
Before production begins, ask for a final drawing showing the major dimensions, materials, colors, storage configuration, display areas, and equipment positions.
Check it carefully.
Don't only look at the front view. Look at the top, side, and internal layout.
That is where many expensive mistakes become visible.
The Best RFQ Is Not the Longest One
You do not need a professional architectural drawing to request a retail counter.
For a first quotation, a manufacturer can usually start with:
Store dimensions + counter size + product type + equipment dimensions + storage requirements + reference photos + preferred materials/colors.
A rough hand sketch with measurements is often more useful than a long email describing what you want.
And if you are still unsure about the design, say so.
A good custom-furniture manufacturer should help turn your store requirements into a workable counter—not simply wait for you to provide every dimension yourself.
The better information you provide at the beginning, the fewer revisions, surprises, and unnecessary costs you are likely to face later.