check out over 200+
Art3D Ceiling Aluminum Gusset Plate Wainscoting Panels Living Room Restaurant Retail Store Full Set of Suspended Ceiling

$5.00
Availability:
In stock
SKU
A3DC-1001
Built-To-Order
Ships in approximately 5 business days; excludes artwork approval processing time of 2 business days
Complimentary Artwork Review
For a worry-free purchase, one of our artwork specialists will review your submission prior to printing to ensure crisp text and sharp imagery on your final product.
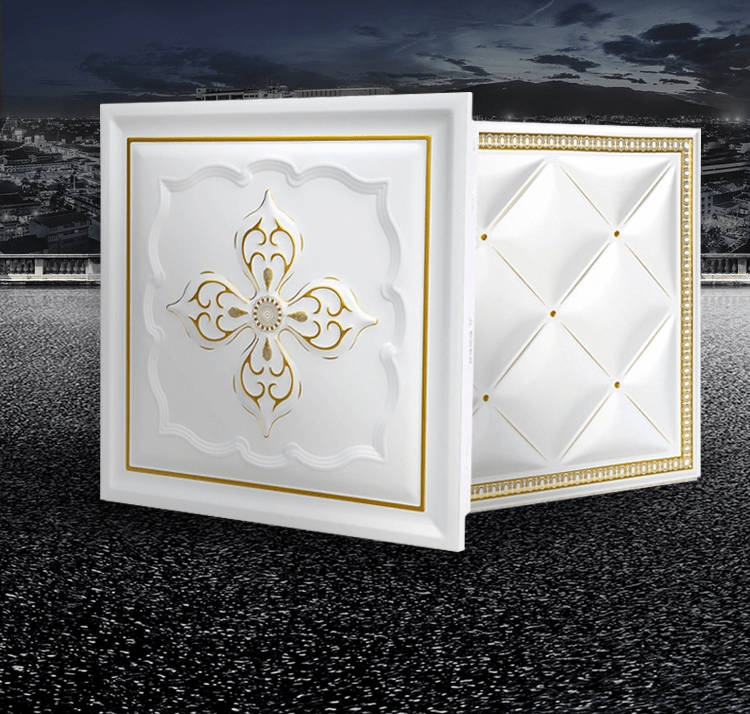
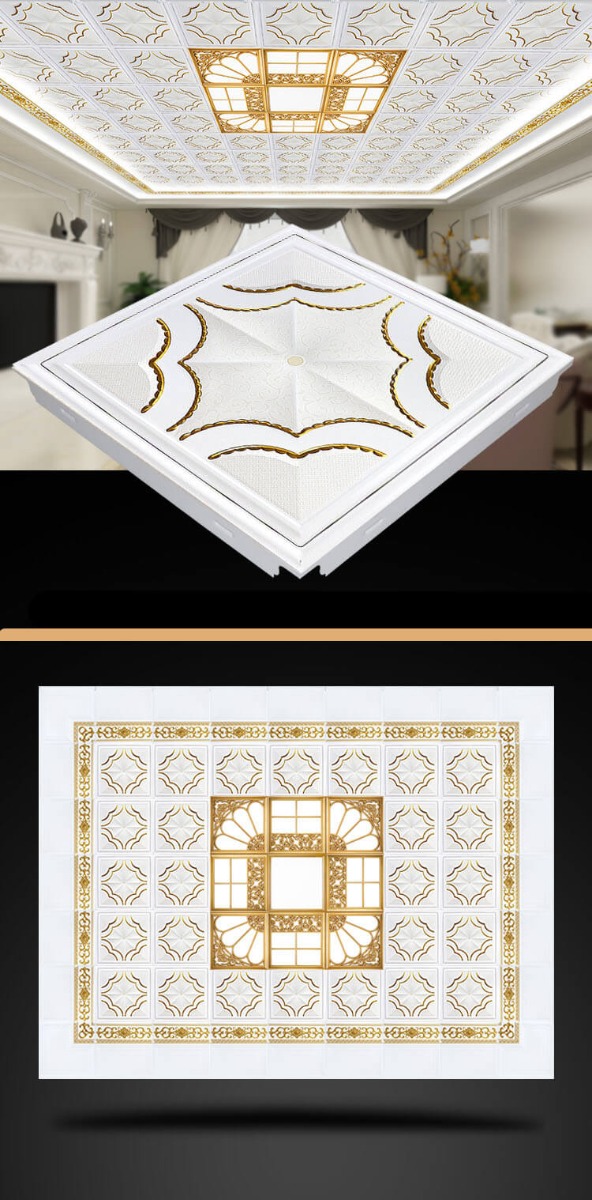
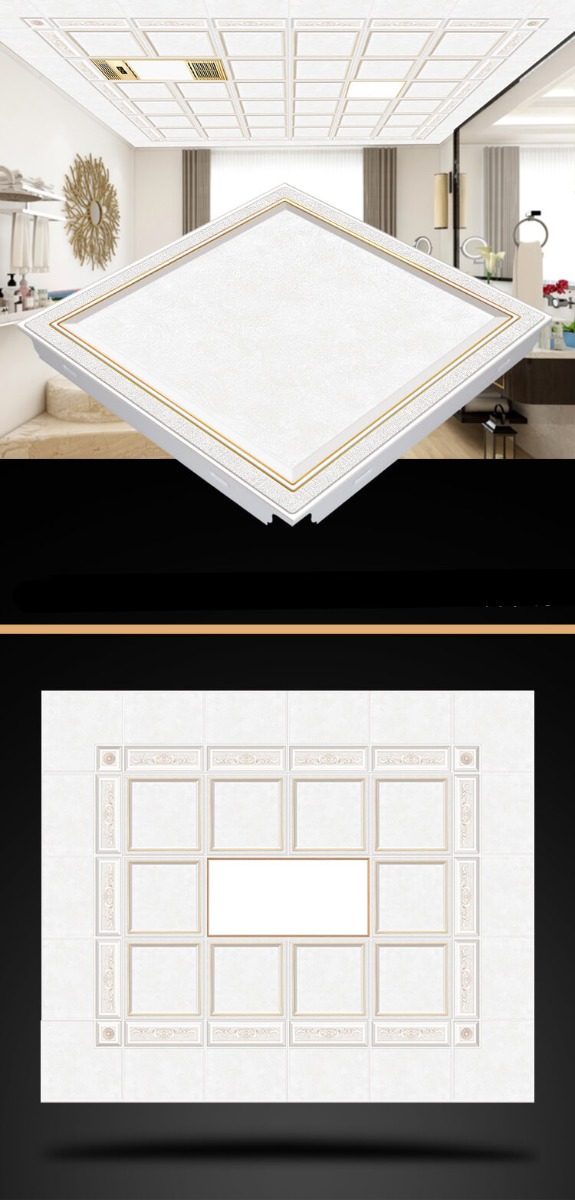
The ceiling is an important part of a home or shop decoration. The plasticity of the original ceiling is very low, and we cannot choose the pattern or color we want. Therefore, many people choose to use the integrated ceiling. The integrated ceiling is mainly composed of electrical appliances and metal plates. It is a product that integrates the four modules of the ceiling, heating, lighting, and ventilation. In addition to installing our favorite plate patterns, we can also install ceiling lighting and other equipment, so it is very convenient. Today I want to show you some beautiful art3d ceiling panels.
Product Parameter
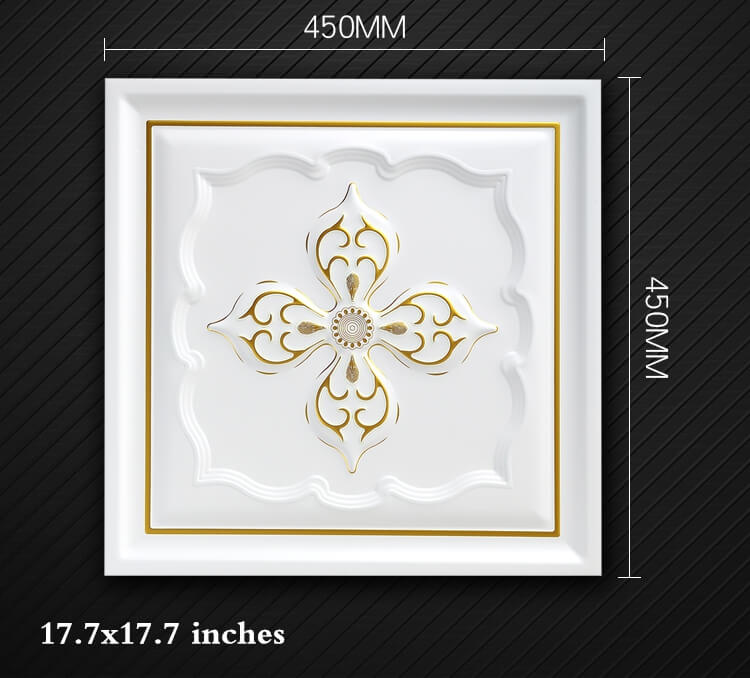
Size: 450x450mm/17.7x17.7in
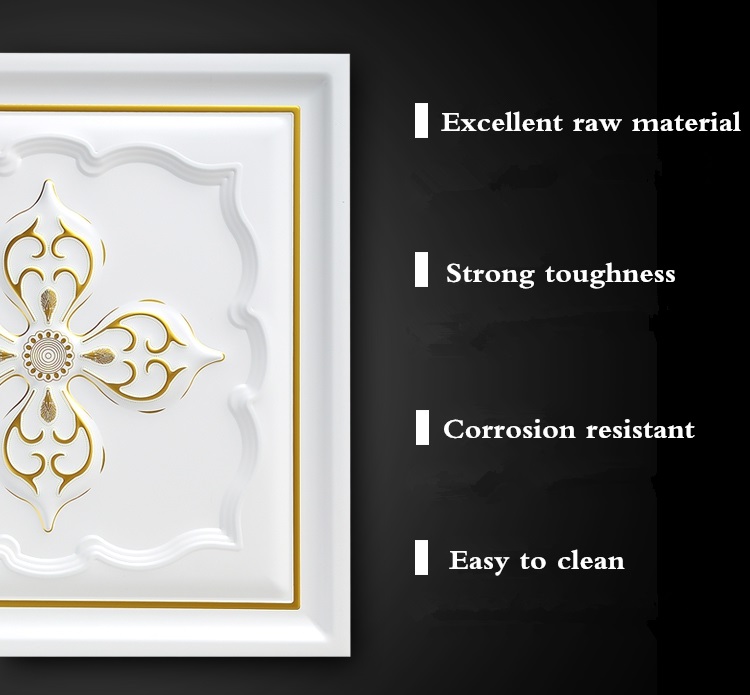
Characteristics: Oil-resistant, corrosion-resistant, high-temperature resistance, deformation resistance
Material: Original ecological aluminum magnesium alloy
Place of use: Living room, restaurant, hotel, room, office, retail shop, etc
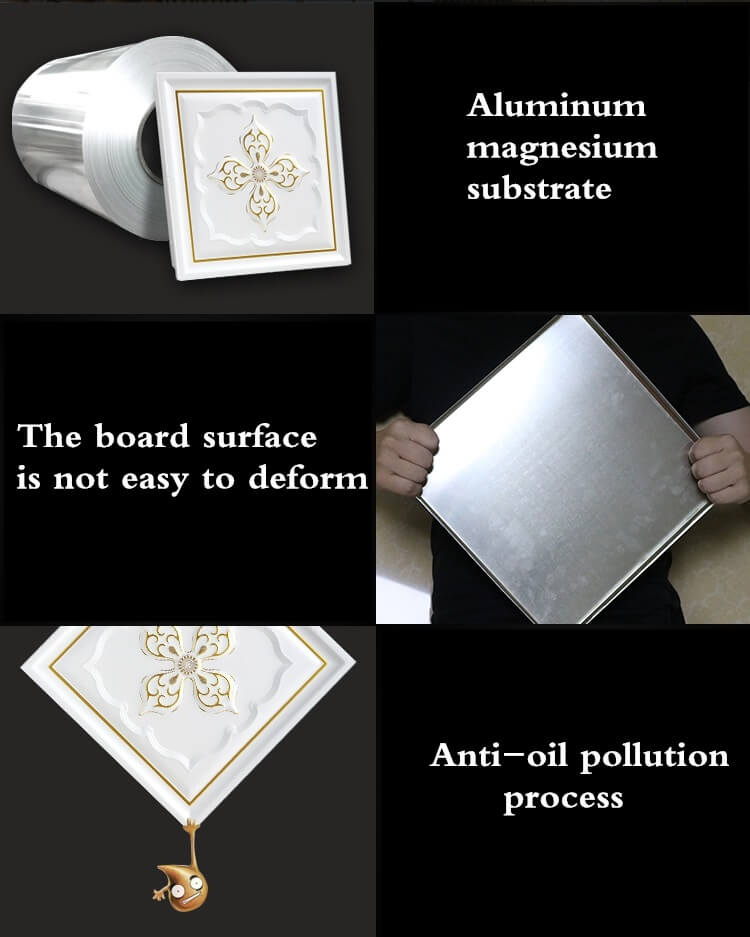
Details
Aluminum-magnesium base material: The base material is made of aluminum-magnesium alloy, which is safe without formaldehyde, anti-oxidation, and does not rust
The board surface is not easy to deform: It is formed by a mechanical stamping, which is flat and reliable, and it fits tightly after installation and is not easy to deform.
Anti-oil pollution process: Using new nano UV technology, the nano-coating on the surface of the gusset plate can effectively isolate oil pollution and dust
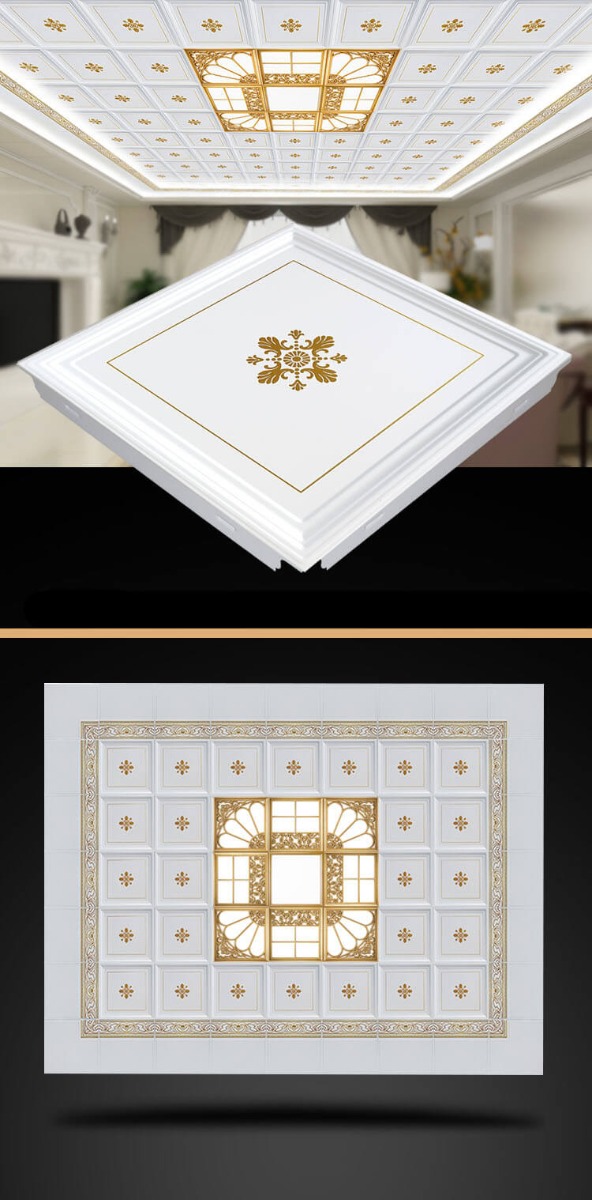
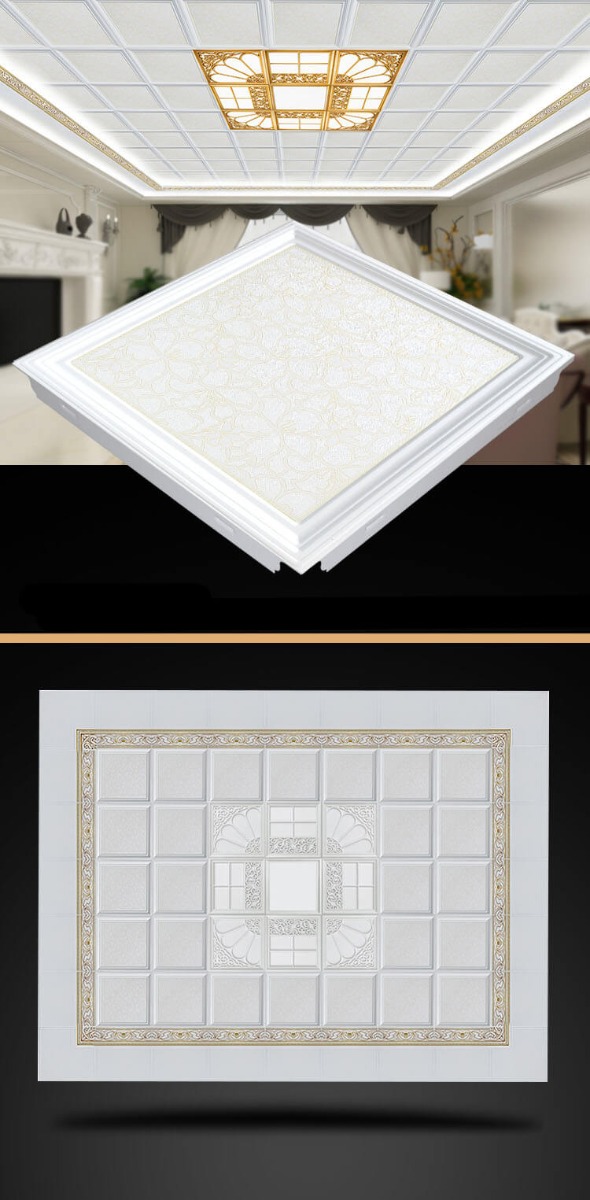
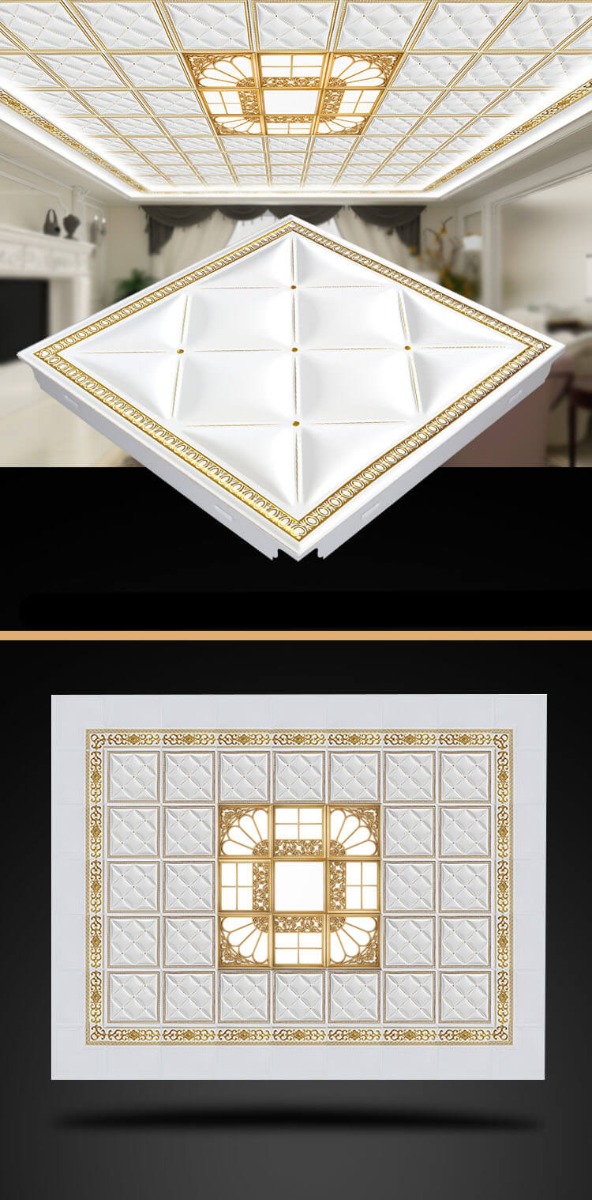
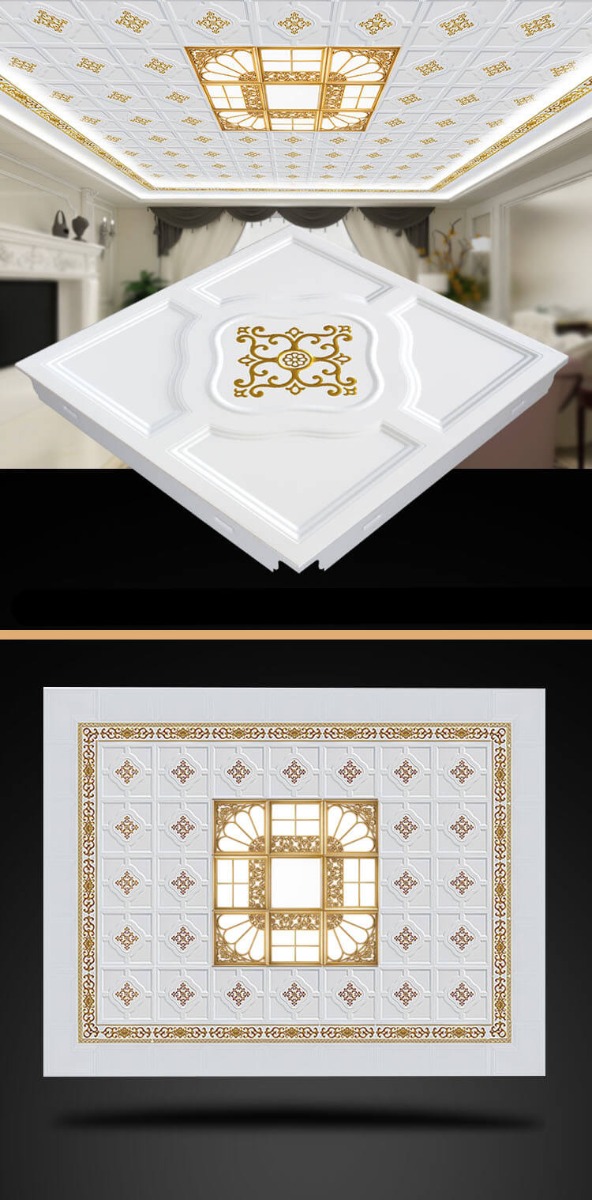
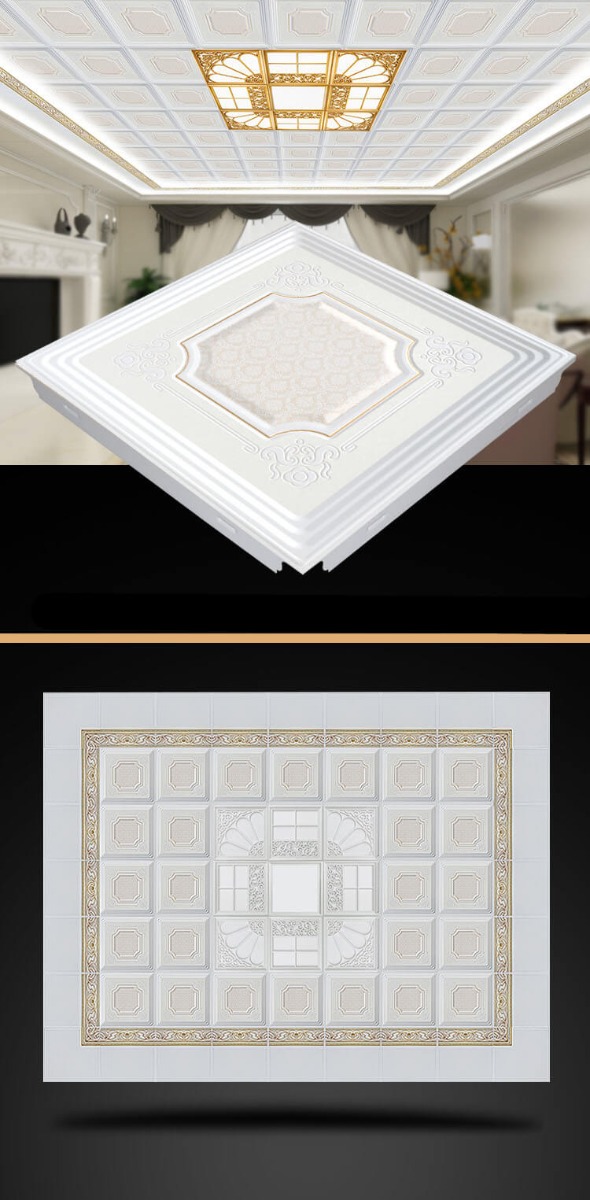
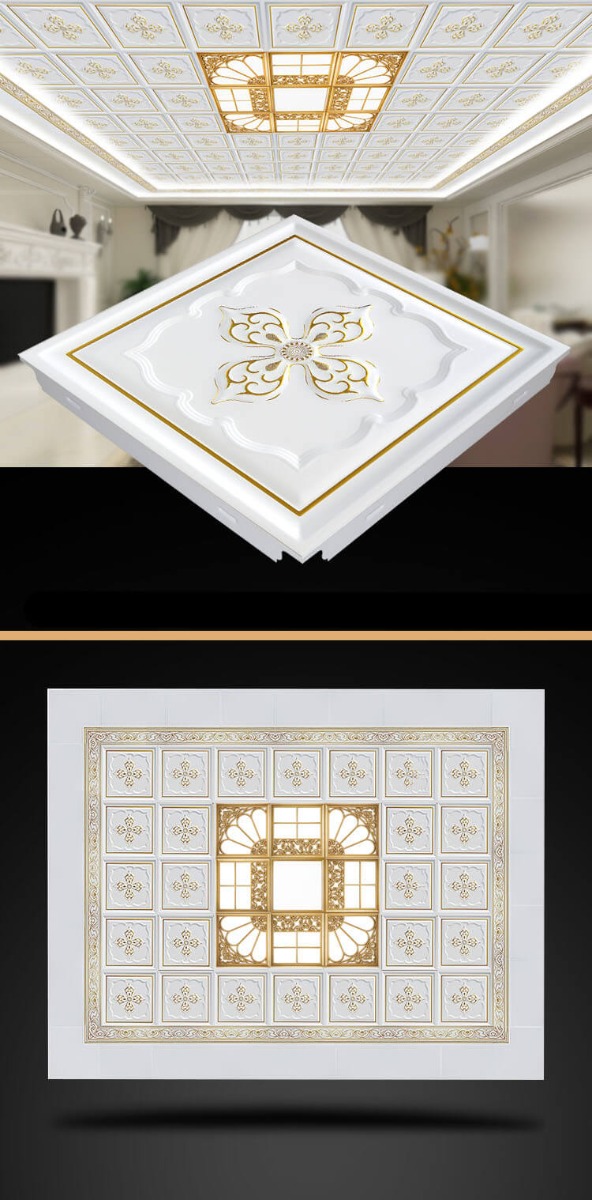
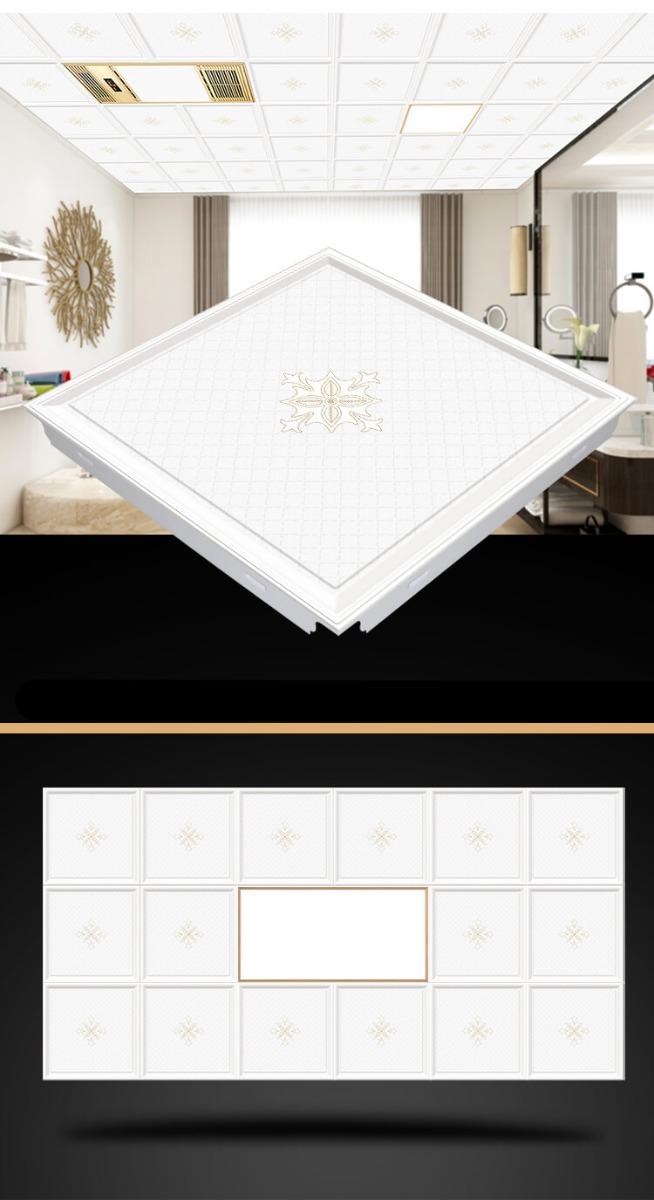
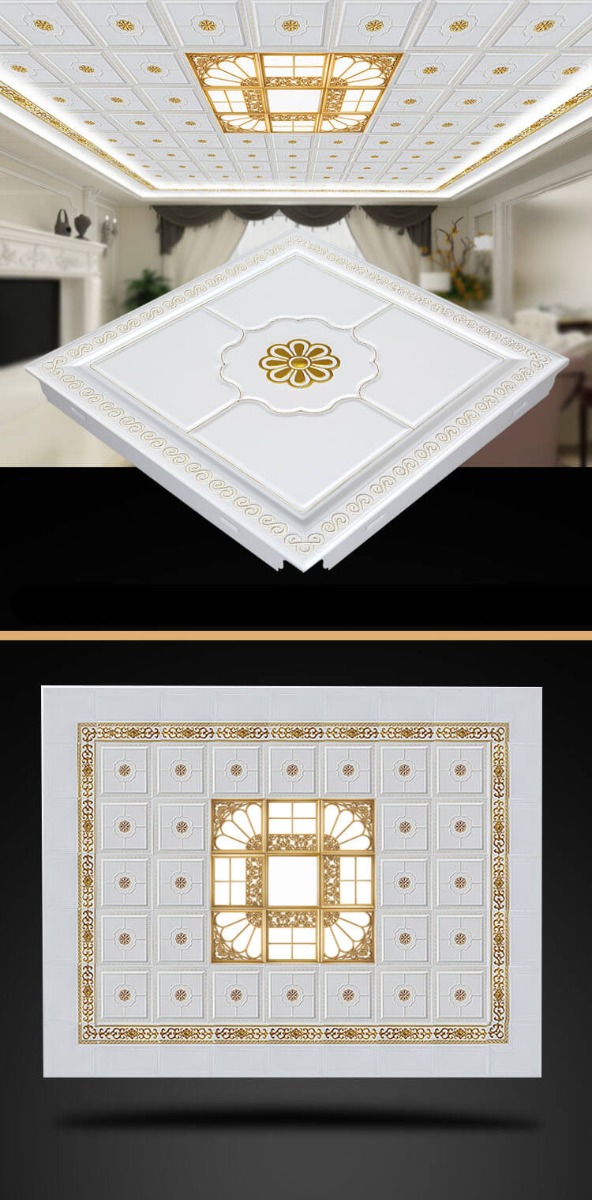
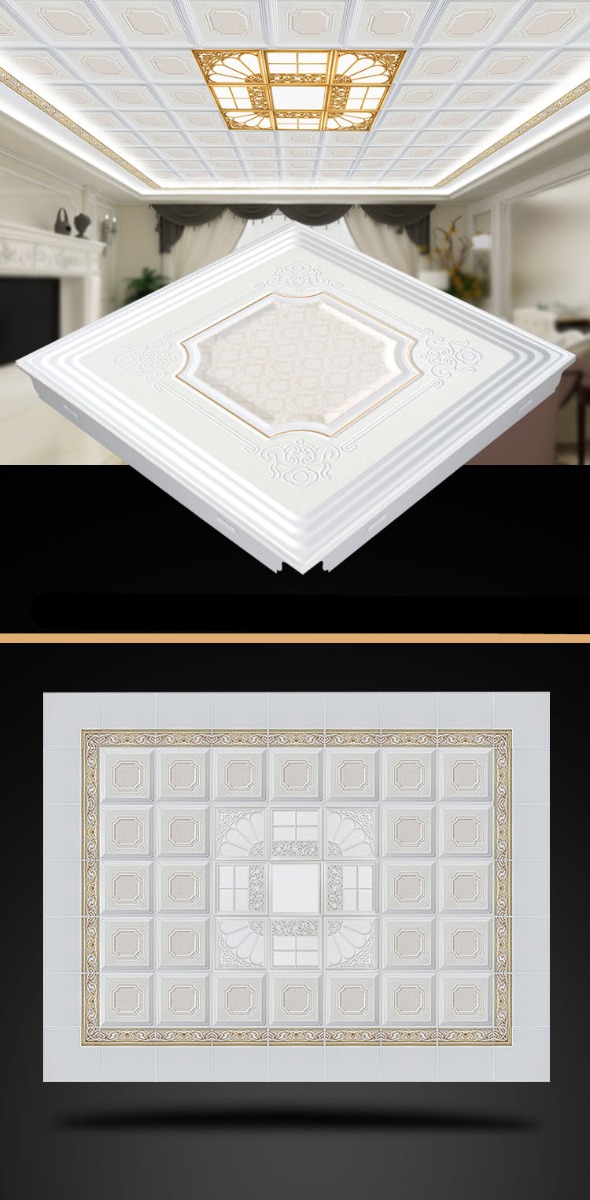
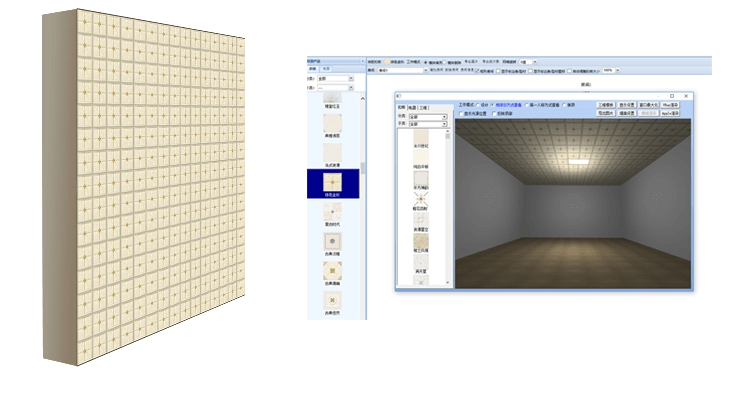
Various styles to choose from
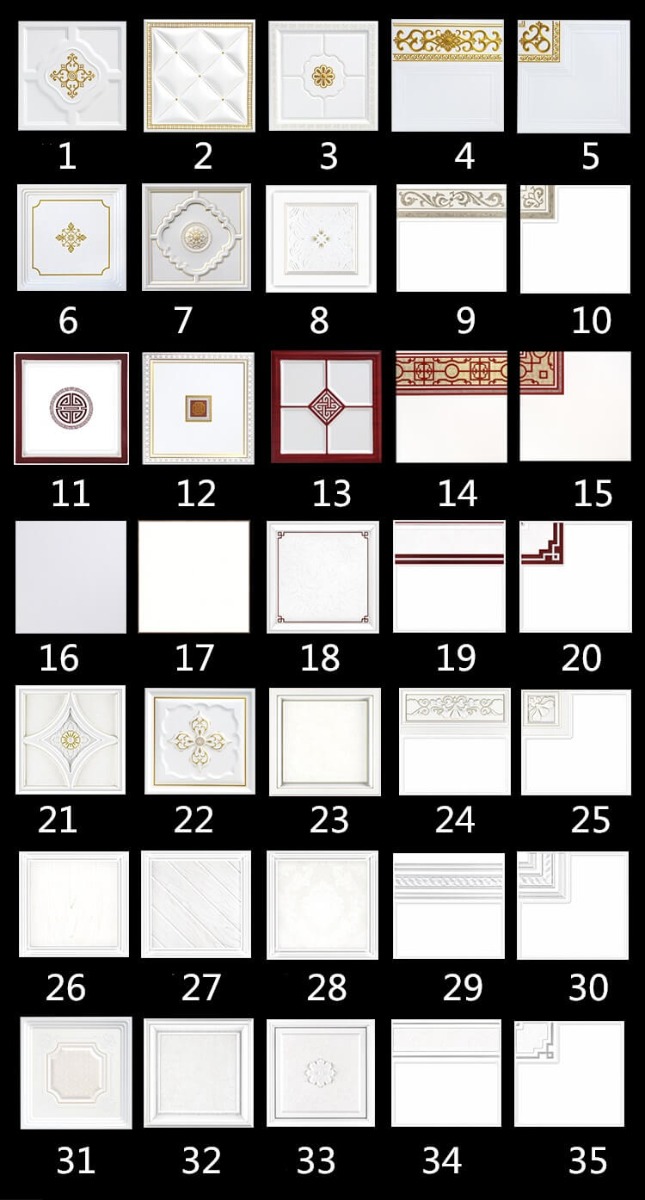
High-quality craftsmanship, strict technology
Scenario shows
How to buy the ceiling panel?
If you want to buy the panel, please send us your ceiling size. And tell us which panel you like, we will help you to do several options to determine the number and style of panels we need. After confirming the final plan, we can calculate the price.
How to install the art3d ceiling?
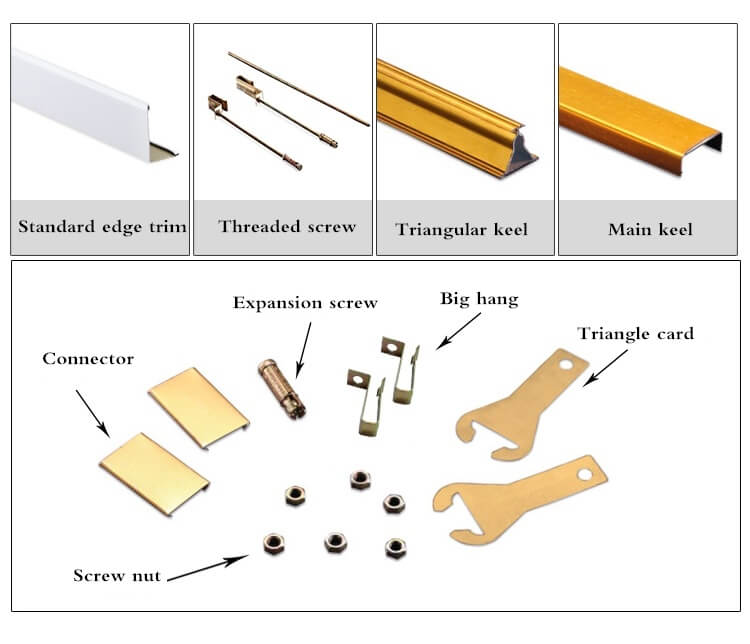
Ceiling installation steps are generally divided into corner line installation, screw installation, keel installation, gusset installation, and electrical installation.
 1. Diagonal installation
The installation of the corner line will determine the installation height and level of the ceiling. At the same time, it is also to pave the way for the installation of the follow-up keel, so we must pay attention to details and quality. If the installation quality is not up to standard, it will affect the safety quality of the follow-up keel, and then affect the installation quality of the entire ceiling.
- The installer will make actual measurements according to the size of the wall of the room. The corners required on the four sides of the room should be cut according to the actual size of the wall.
- Observe whether the installer attaches the corner line required by the wall below the horizontal line, whether the edge and corner line is aligned with the horizontal line and whether the hole distance is 10-15cm.
- Since the drilling process does not have an accurate measurement method, the installer must be professional. What needs to be paid attention to here is the standard of punching. Use an electric hammer to punch a 4mm hole. When punching, the center point must be accurately marked with a cross, and the hole depth is about 30cm.
- After the hole is punched, the installer will drive the expansion pipe into the hole, pay attention to observing whether the expansion pipe is beyond the installation wall, and ensure that every step is accurate.
- Pay attention to check whether the opposite corner of the corner line is flat, and the gap is preferably 0.5mm
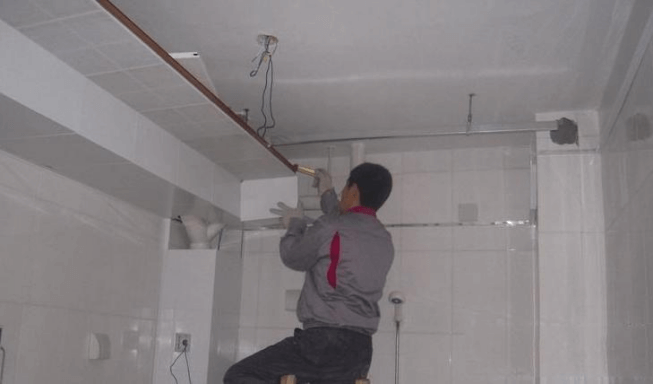
2. Screw Installation
In a ceiling installation, six threaded rods will carry the weight of the entire integrated ceiling.
- First measure the size of the ceiling, drill holes, and screw in the screw of the expansion pipe to ensure that the height of the interlayer between the ceiling and the roof is not less than 25cm. It should be noted that the connection between the screw and the ceiling is the basis for the installation of the entire ceiling. Carefully check whether the screw is perpendicular to the ceiling and fixed firmly and whether each screw is parallel. Under normal circumstances, the ceiling only needs six screws to make the entire ceiling very firm.
- Next, the master will take an average of six points on the ceiling to punch holes with an electric hammer. Pay attention to observe whether the installation master has punched holes without affecting the installation of electrical appliances.
- Measure the distance from the top to the corner line, intercept the screw that is 8-10cm shorter than the actual distance, screw a nut on one side, and then screw on the expansion screw. One side is screwed with a nut and then the expansion screw is screwed in, the other side is screwed in the nut, the main keel hanger is put on, and then a nut is screwed in to fix it. The screw should be exposed by about 3mm.
- Finally, the large ceiling is connected with a 6mm screw. When installing, the master will first screw the nut into the screw, then insert the large hanging piece, and then screw in the nut, and so on to complete the screw installation.
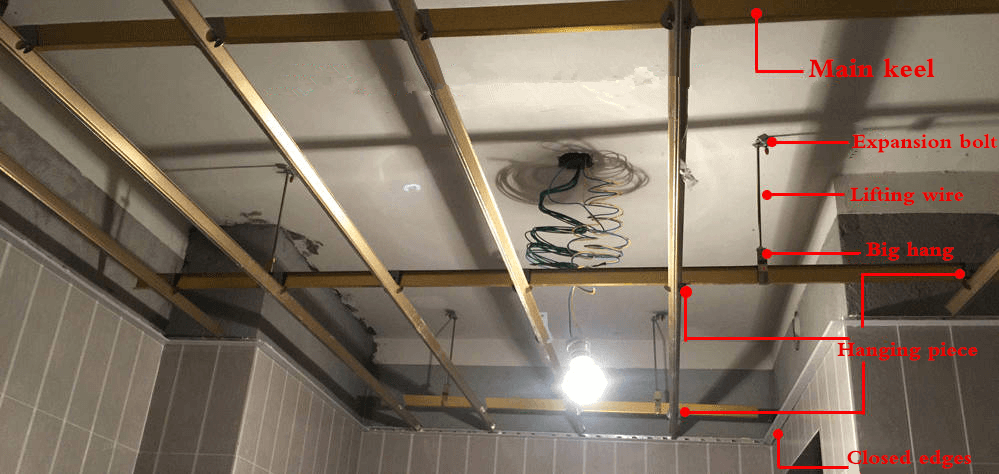
3. Keel installation
The keel is the basis for the installation of the panel and electrical appliances, so installing the keel is the most important step in the installation of the ceiling.
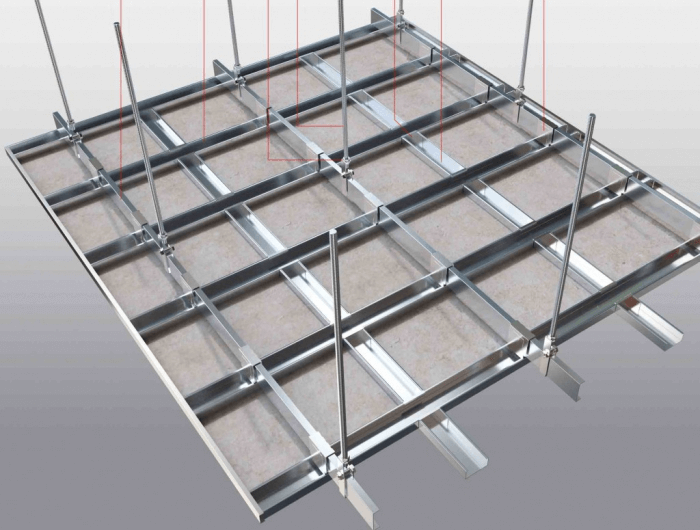
- First of all, the installer will compare the sizes of the major hangers, clamp the main keel on the hangers, and intercept the required size. After snapping in, check whether the main keel is parallel.
- The correct installation method of the triangle keel is to put the triangle hanger into the triangle keel and fix it on the main keel in turn. The installer will adjust the distance between the keels to 300mm before fixing the triangular keels.
- The installation of the keel has strict specifications. A little knowledge about installing keel: Generally, the distance between the booms is 300-1200mm, and the arch is 1%-3% of the short span of the room. The distance between the main keels is 600-900mm. The distance between the auxiliary keels is not more than 600mm.
4. Panel installation
After the keel is built, the gusset can be installed.
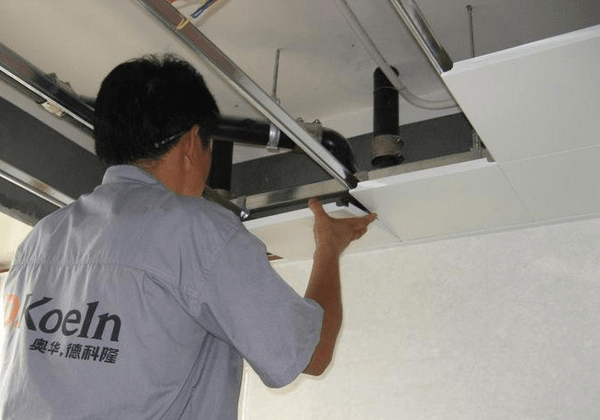
- The installer will first insert the connector into the fixed triangular keel, and then cut the required length and insert it into the other end of the connector. When connecting the triangular keel, it should be interspersed and connected, otherwise, it will cause falling and cause unevenness.
- When installing the panel, the installer will first lift the film on the four sides of the panel, and then install it in the same direction as the arrow on the film. The first-row panel installation master will use a utility knife to cut so that it is beautiful and symmetrical, and the cutting edge should face the wall.
- The installer will clip the cut gusset into the triangular keel, place the cut surface on the edge trim, and pull out the corners of the edge to clamp the panel. Take this as an example to install the panel in the first row.